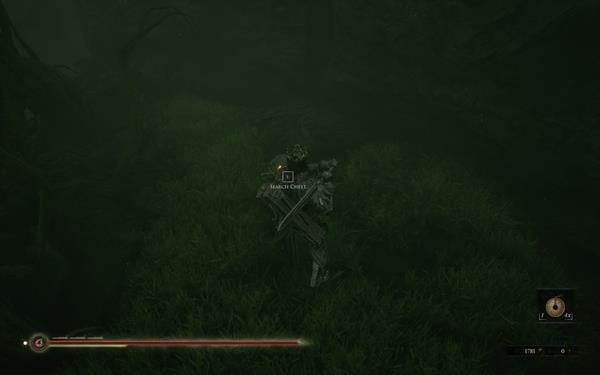
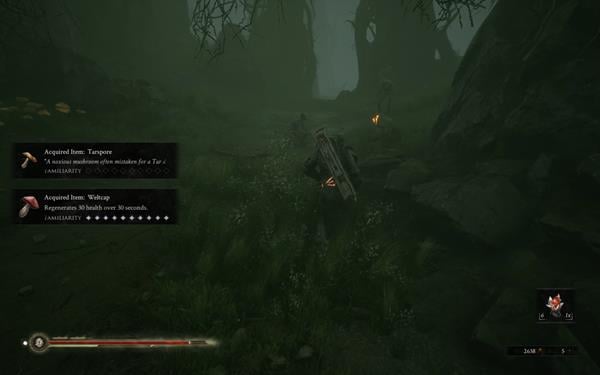
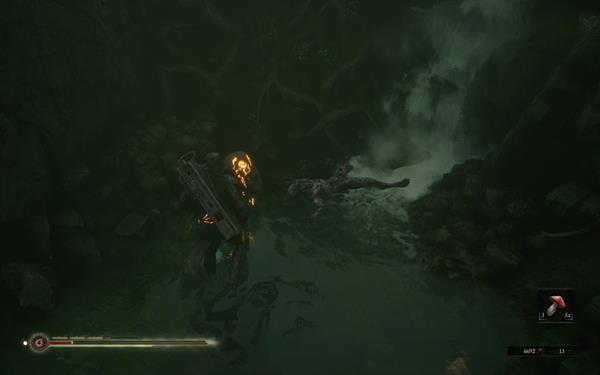
The Mist is a Location and Mechanic in Mortal Shell. During The Mist, Fallgrim will be covered by a dense fog and all enemies will be replaced by Nocteserpers and Grishas. All Frog Chests will be unlocked during The Mist.

General Information
- Previous: Fallgrim, Sanctum of Flame, Shifting Archives, Martyr's Altar
- Next: Fallgrim
- Bosses: Grisha
Video Walkthrough
[video goes here]
Map
[map goes here]
NPCs in the area
Bosses
- 2x Grisha
Items
Consumables and Trade Items
- 1x Golden Bell
- 1x Tainted Nektar
- 1x Bag of Tar
- 1x Extracted Tar
- 2x Glimpse of Hope
- 1x Glimpse of Affection
- 1x Glimpse of Courage
- 1x Scripture of Repent
- 1x Effigy of Harros
- 1x Untarnished Mask
Equipment & Upgrades
- 1x Quenching Acid
- 1x Molten Spike (Item)
- 1x Sester's Binding
- 1x Disciple's Rag
- 1x Martyr's Shawl.
Key Items
- N/A
Enemies
Full The Mist Walkthrough
The first time you recover a Gland and come back to Fallgrim you'll notice a thick Fog, as you will now be inside The Mist. The Fallgrim layout won't change, but all enemies will be replaced with Nocteserpers and the frog chests will be unlocked. You will also be able to encounter two Grisha that re-spawn.
Once you come back to the Fallgrim Tower, you'll find a new NPC called Thestus. Thestus can summon or cancel The Mist in exchange for 1 glimpse.
Traveling to another region (such as with the ornate mask) or dying while in the Mist at this point (i.e. while not carrying a Gland) will reset the world state and cancel the Mist.
Each time you recover a Gland, Fallgrim will be covered with The Mist until you speak with The Old Prisoner and deliver the Gland.
The Mist is a great place to farm Glimpses and Tar. There are two Grisha mini-bosses that re-spawn. Defeating them is a great way to acquire both Glimpses and Tar. Defeating Nocteserpers is also a great way to acquire Tar, since they have a chance to drop 1x Bag of Tar.
All Frog Chests Locations
Area 1 (Eternal Narthex)
Head outside the Fallgrim Tower using the door next to the Workbench. Once outside explore the area behind the broken wall to find a frog chest with 1x Golden Bell.

Go down using the ramp and outside the cave where you find the first Grisha you can find a Frog Chest with 1x Tainted Nektar

Turn right and go down the ramp. You'll find the chest to your right containing 1x Quenching Acid

Continue ahead using the ramp. In the middle area next to the campsite you'll find another chest with 1x Bag of Tar.

Use the watery ramp down located right from the chest. Turn right at the bottom to follow the water into the Big Campsite located inside a valley. Defeat the Grisha and open the Frog Chest to acquire 1x Molten Spike which can be used to unlock the Molten Spike Ability.

Continue straight and head to the hill where Baghead is located. Next to him you'll find a chest with 1x Glimpse of Hope.

Drop to the right and head towards the Eternal Narthex using the road located next to Gorf. There's a frog Chest to your left with 1x Glimpse of Affection

When you reach the Fallgrim Outskirts explore the lower area. There are some branches covering a Frog Chest. Destroy the branches and open it. 1x Glimpse of Hope

Head down using the ramp you'll find a chest at the bottom just before the Eternal Narthex containing 1x Sester's Binding

Area 2 (Temple Grounds)
Head outside the Fallgrim Tower using the tunnel located on the lowest level. As soon as you come out, turn left and you'll find a chest with 1x Extracted Tar

Continue down the ramp and go around the pillar on the right. At the fork in the road with the Inscription, take the right (Heading towards Temple Grounds). You'll find a chest with 1x Scripture of Repent

Continue ahead going towards Temple Grounds. Just before the ramp leading to Temple Grounds, you can find 3 Chests. The ones located at the entrance has 1x Untarnished Mask and 1x Effigy of Harros, and the one in the middle has 1x Disciple's Rag.

Area 3 (Abandoned Chamber)
Head outside the Fallgrim Tower using the tunnel located on the lowest level. Turn left and after you cross the pillar turn right. You'll find a road split. Head left towards the Abandoned Chamber. There's an open area with a giant tree. Underneath the tree you'll find a Grisha guarding a chest. Defeat the Grisha and open the chest to acquire 1x Glimpse of Courage.

Right before the entrance of the Abandoned Chamber, underneath the waterfall, you can find a chest with 1x Martyr's Shawl.

Video
[video goes here]
Map
[map goes here]
